
How to export the timeline to your editor

In the download menu of a clip, a passage, your favorites or the script, click Export to editor. Choose the editor (Final Cut Pro, Premiere Pro or DaVinci Resolve) and the media, then click Export. The file is a cut timeline; in the editor, relink the media to the original file.
Step by step
-
Step 1: Click Export to editor
On the Clips page, click the download icon on the card (Download segment) and then Export to editor. The same item shows up in the download menu of each passage (in the transcript, in Chapters and in Emotions), in the Favorites part of the Download menu and in the script.
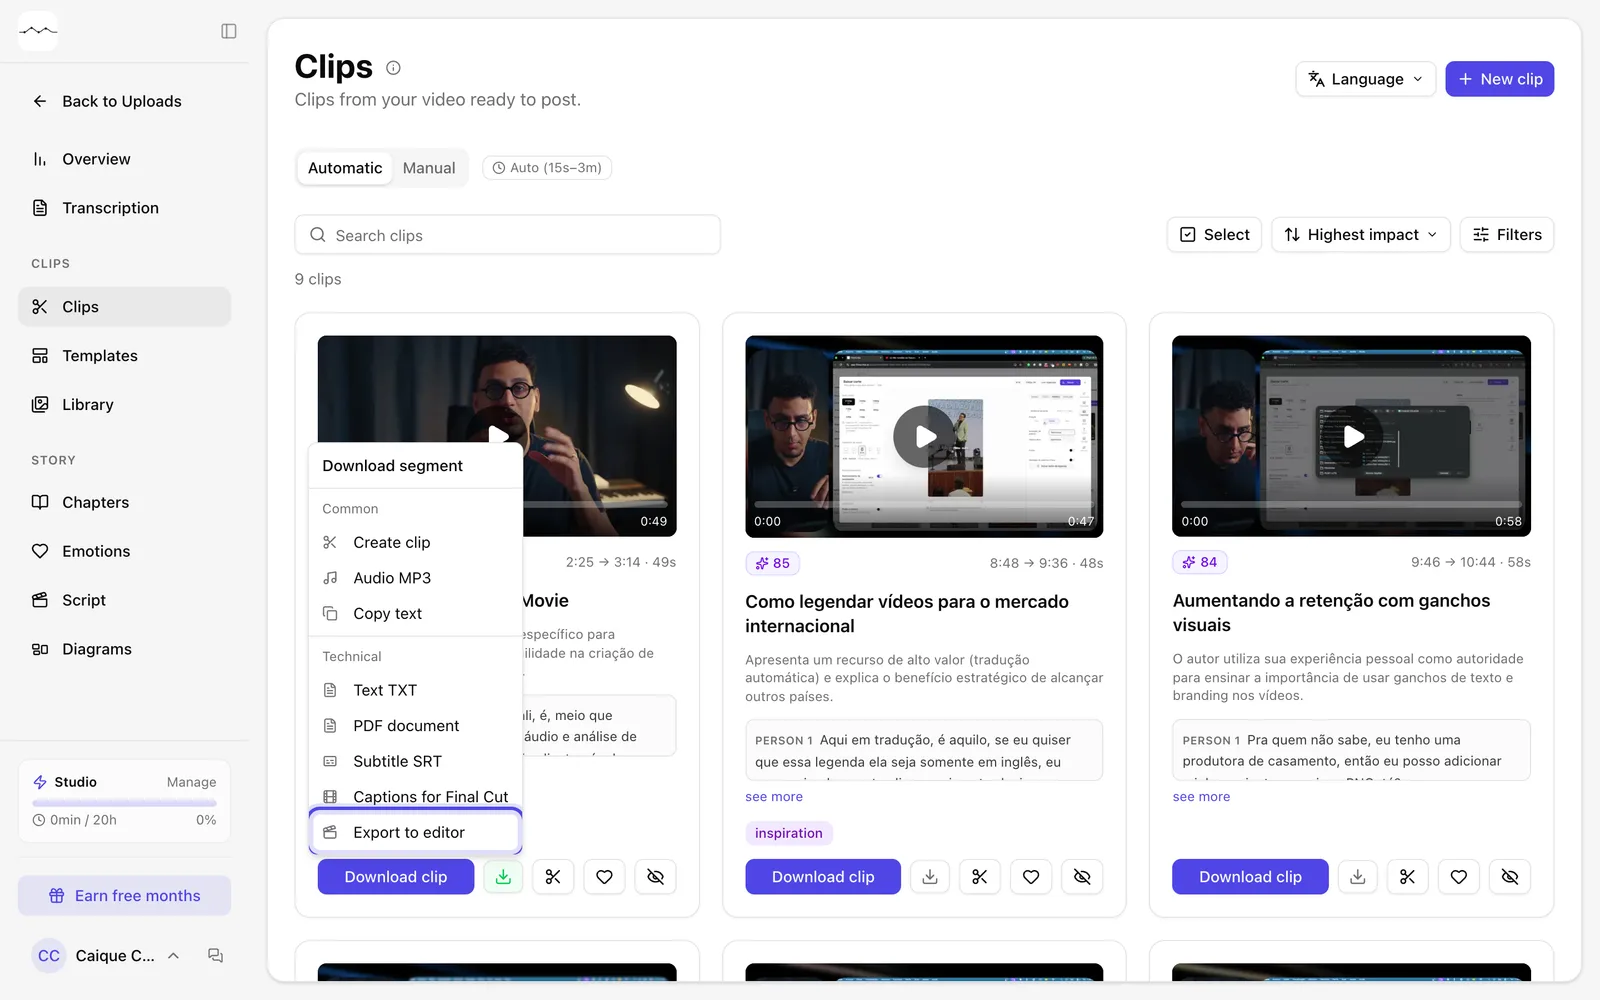
App screenshot Export to editor, in a clip's download menu. 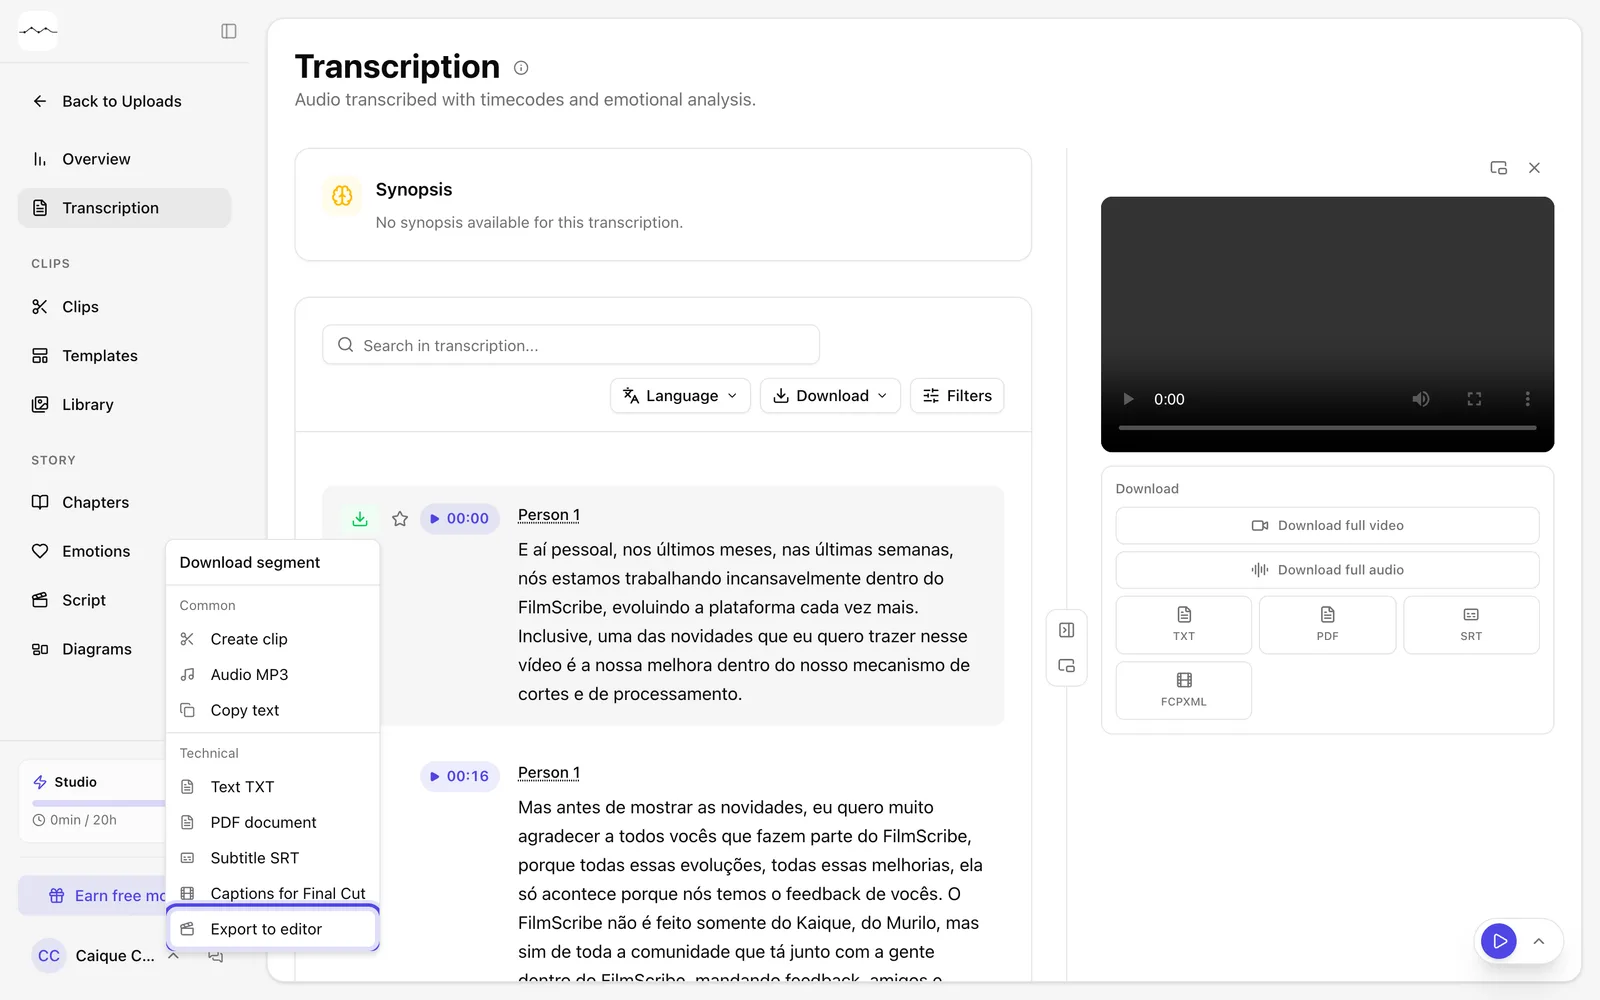
App screenshot Export to editor, in the menu of a transcript passage. 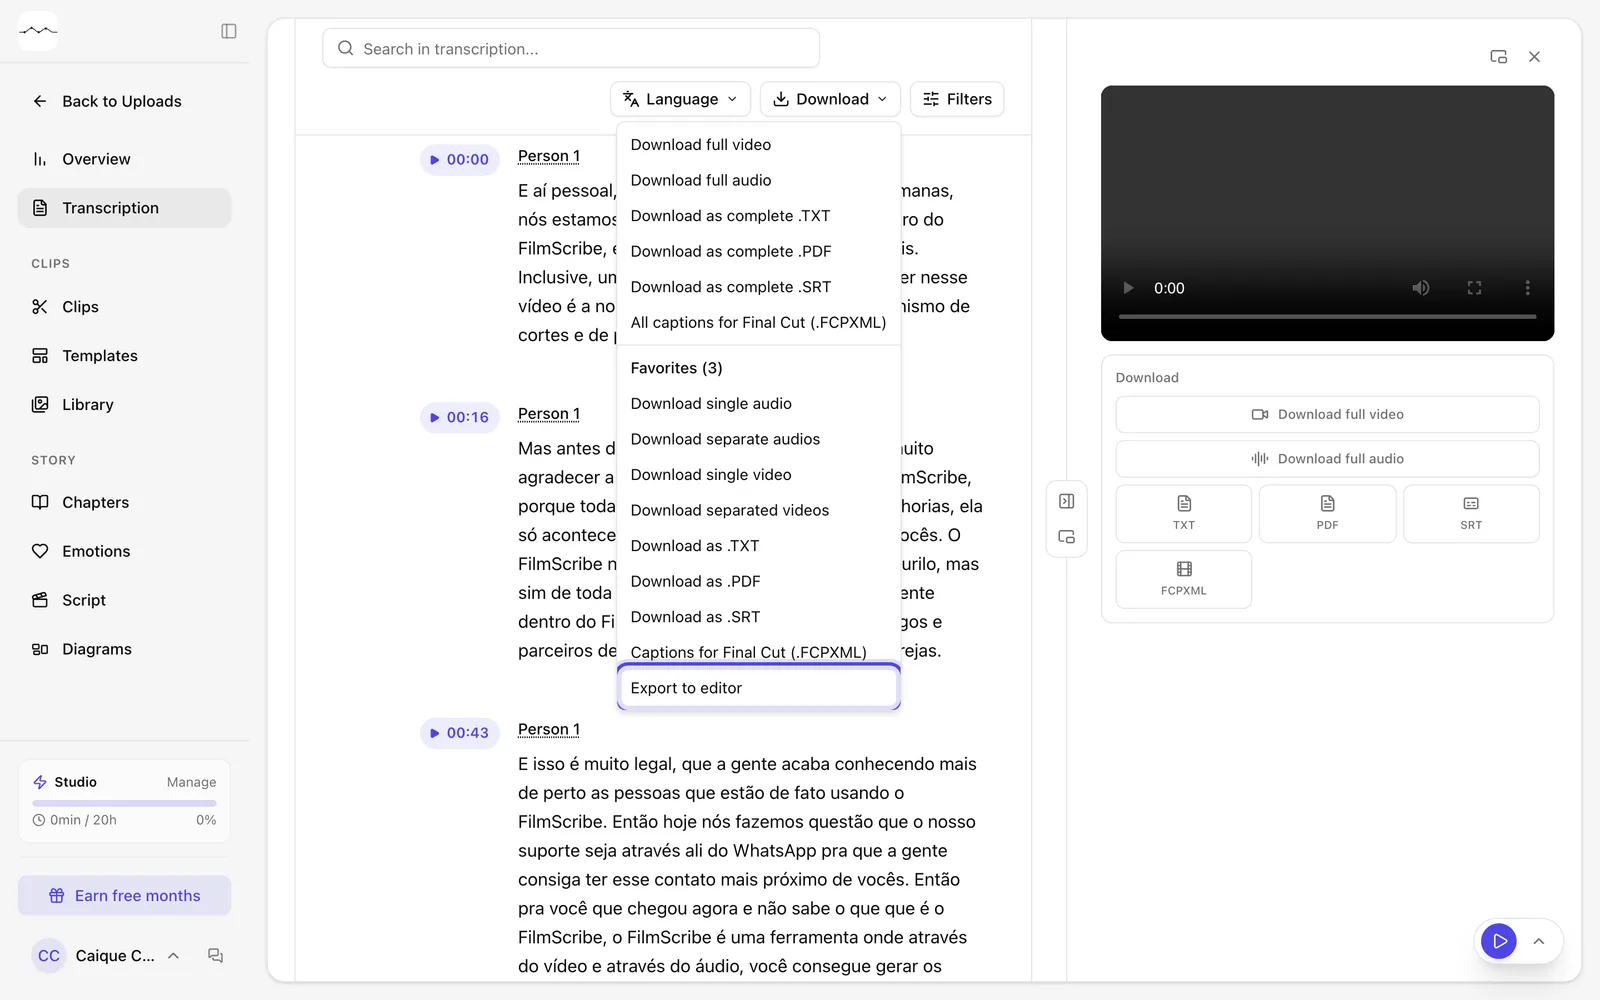
App screenshot Export to editor, in the Favorites part of the Download menu. -
Step 2: Choose the editor and the media
In Editor, choose Final Cut Pro, Premiere Pro or DaVinci Resolve. In Media, leave Original file and click Export.
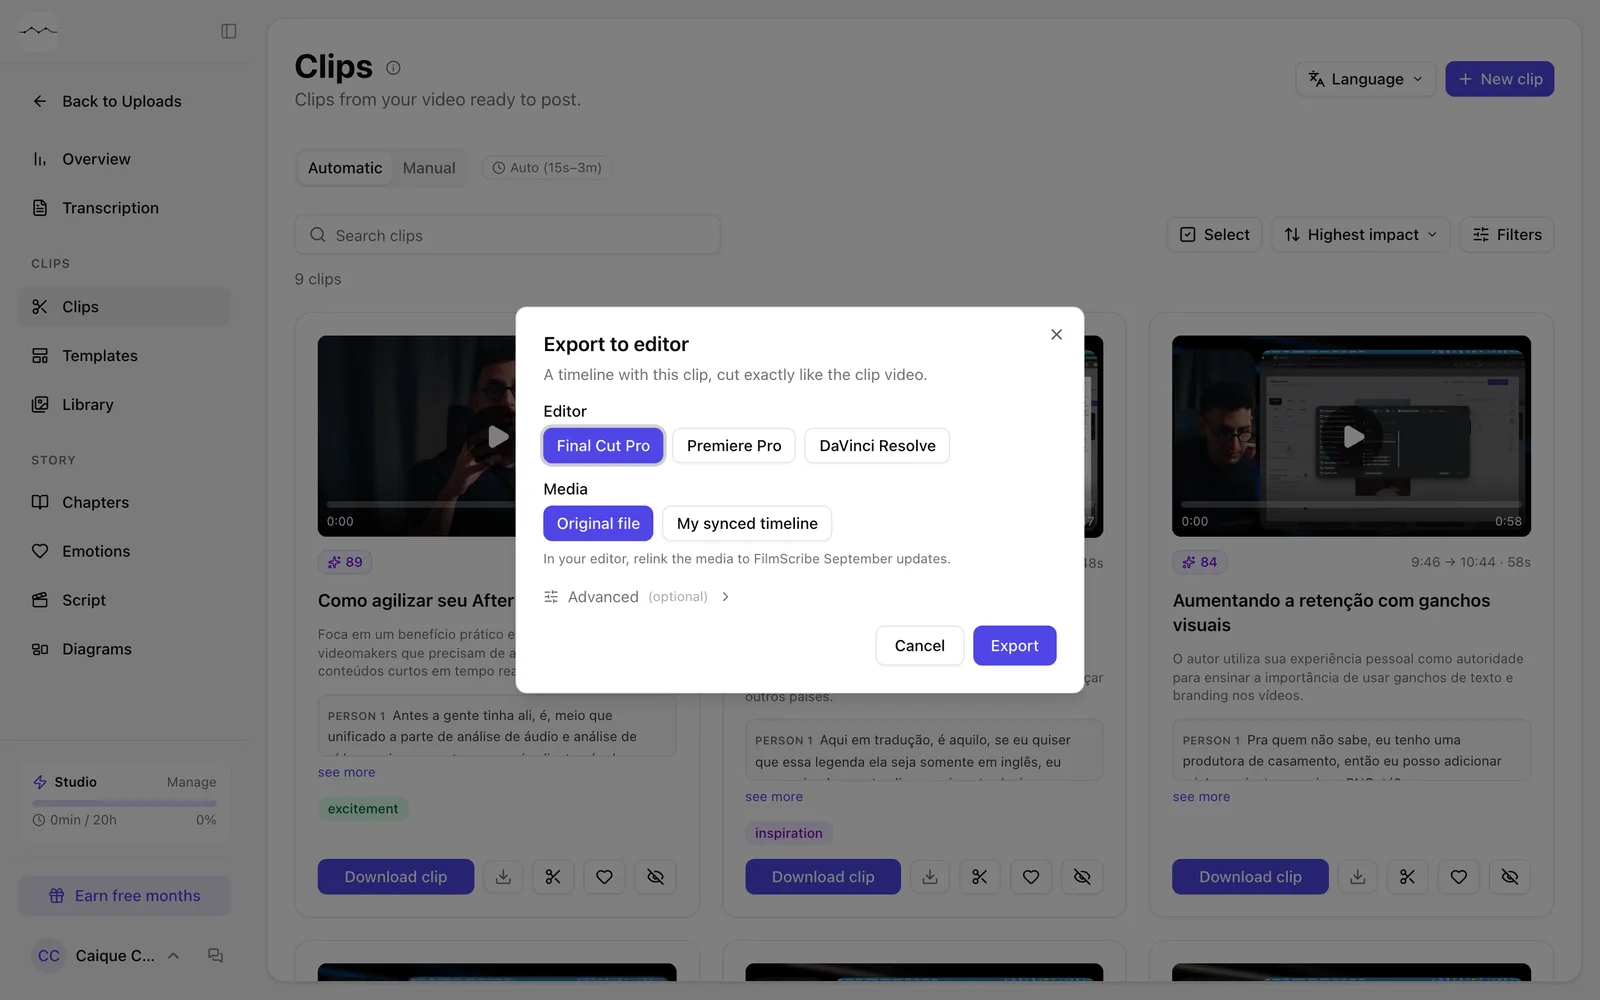
App screenshot The Export to editor window. -
Step 3: Open it in the editor
Import the file into your editor. In Premiere Pro and DaVinci Resolve the file is .xml; in Final Cut Pro, .fcpxml. Then relink the media to the original video file.
Optional steps
You don't need these steps to finish the task. Use them if you want.
-
OptionalExport on top of your timeline
In Media, My synced timeline uses the timeline from your editor whose audio you transcribed. Export that timeline from the editor and upload it in the window.
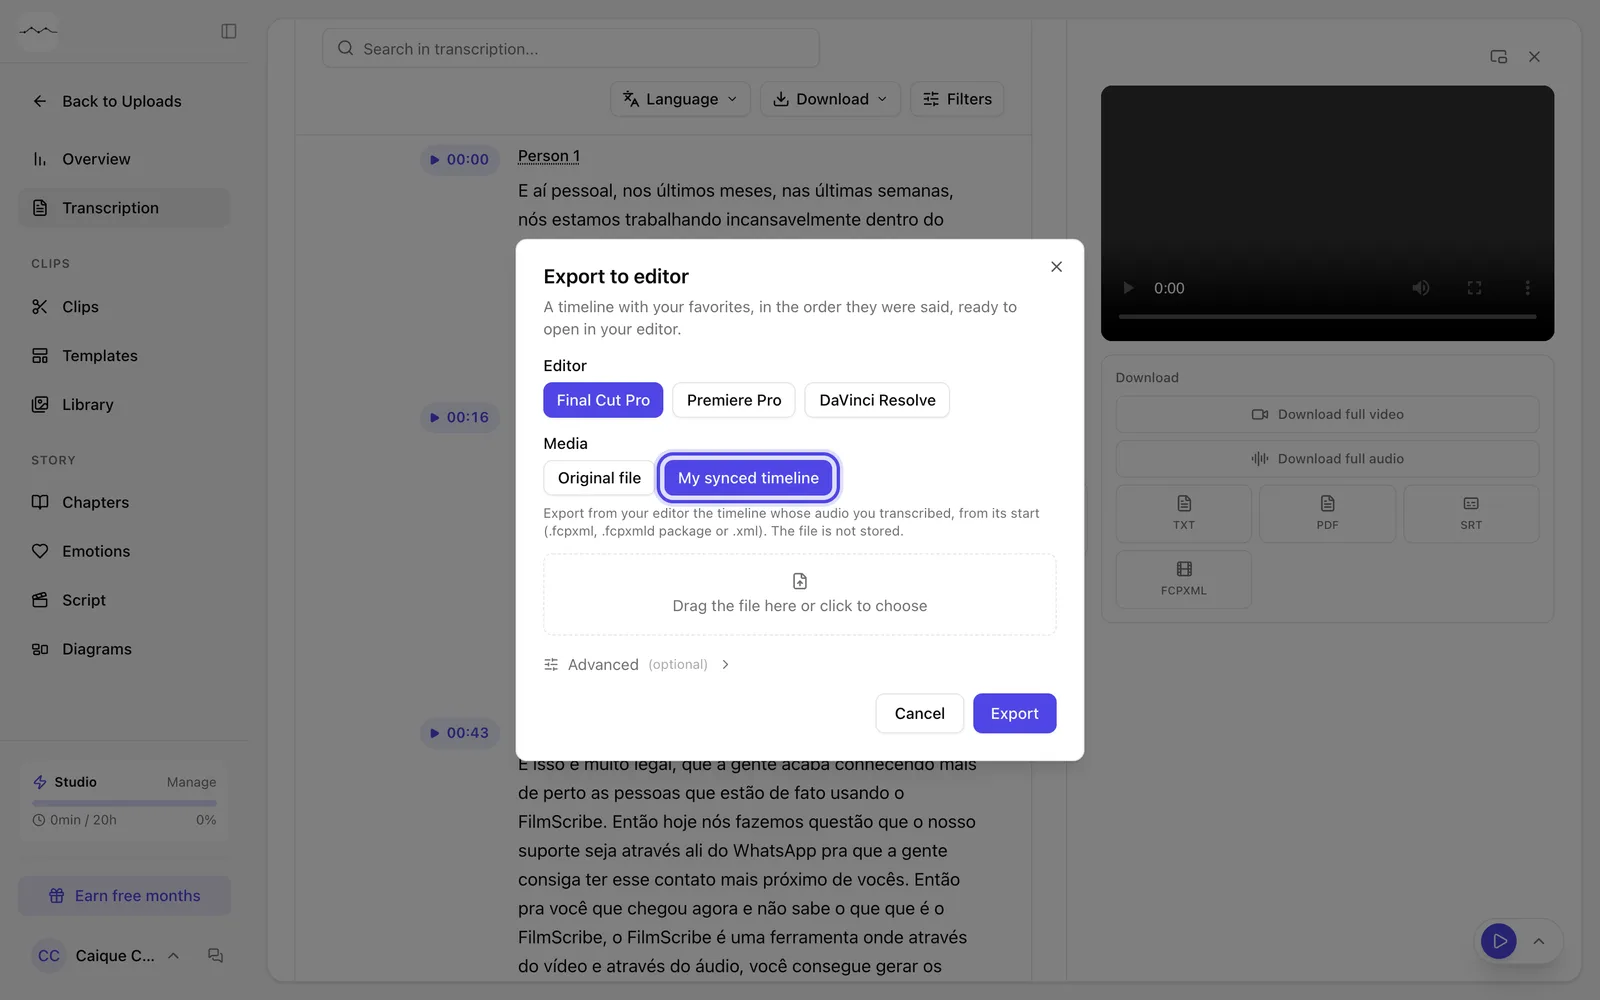
App screenshot My synced timeline, with the field to upload your editor's timeline. -
OptionalAdjust the spacing
In Advanced, change the Empty space between passages (seconds) and, outside clips, the Breathing room before and after speech (seconds).
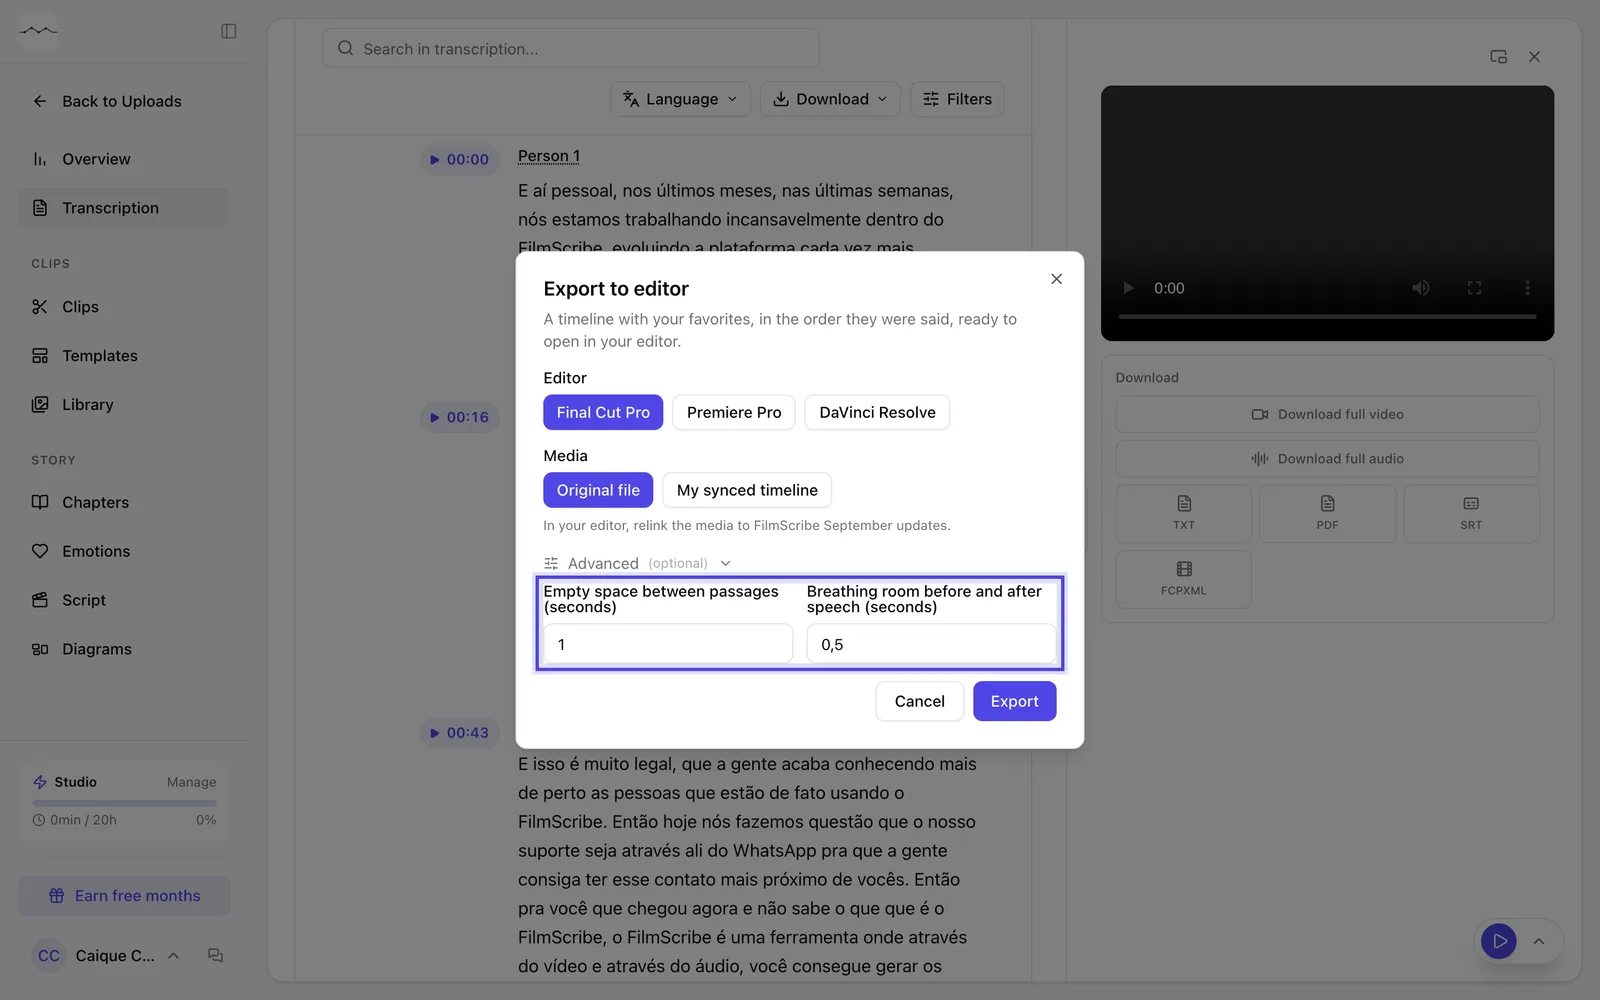
App screenshot Advanced open, with the space between passages and the breathing room.